Instructions
Ready to get started with this activity? To keep track of your progress, check off the instructions for each step below as they are completed. Make sure to check the box of the last step when you’re done to receive congratulations for your completed activity!
Consider this:
In this experiment, we are going to try to keep our containers nice and cool so as not to melt the ice. In the summer, the weather can get very hot, though we like to keep buildings cool on the inside. Some homes have air conditioning, while others use fans, shade from trees, and curtains to slow the heat from coming inside. Some items are better than others at preventing heat from coming inside the home.
In this experiment, we are going to try to keep our containers nice and cool but not melt the ice. It’s a big ask, because as soon as we take the ice out of the freezer, it starts to melt due to the air being warmer than the freezer. Basically, heat from the air is transferred to the molecules in the ice, which gain energy and change the structure of the ice from a solid to a liquid.
Without insulation to slow down the warming of the air in our homes, we would spend a lot of money and energy trying to keep our homes cool! To save our resources and be energy efficient, we try to install the best insulators in our homes.
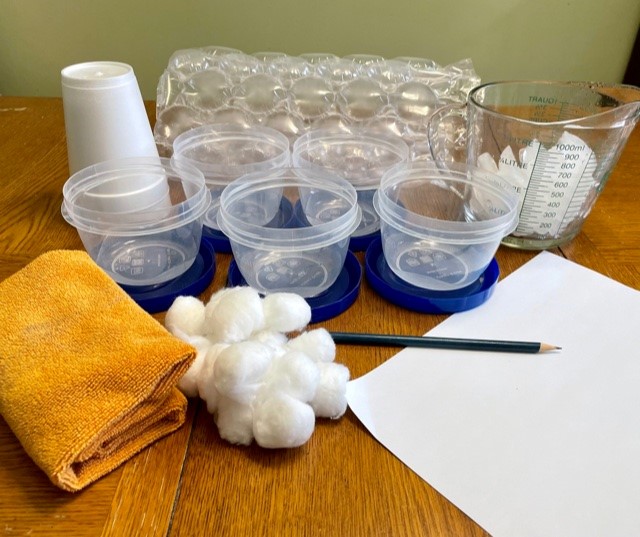
- (5) plastic containers with lids
- Styrofoam from packaging or cups
- Cotton balls
- Bubble wrap
- Fabric/small towel
- (5) Ice cubes
- Paper
- Pencil
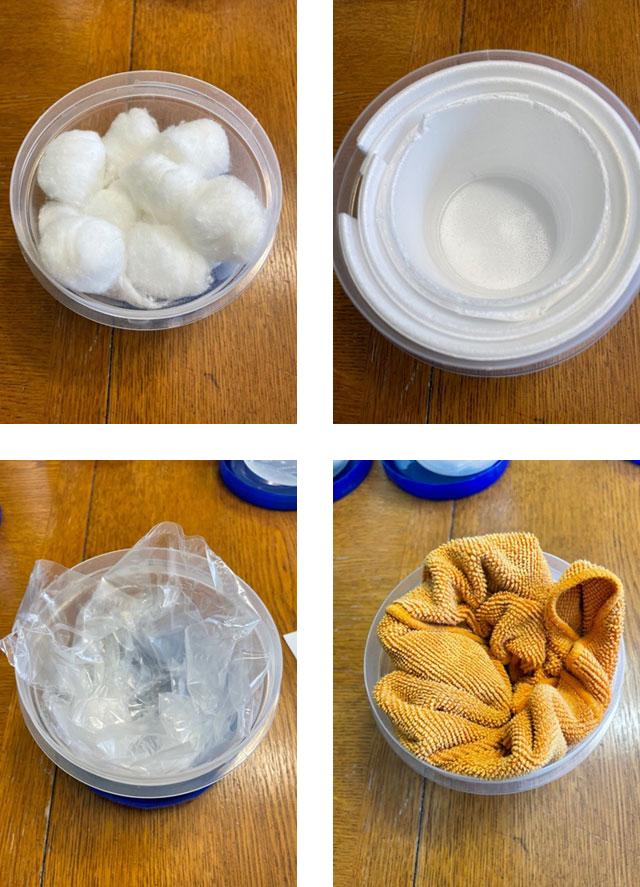
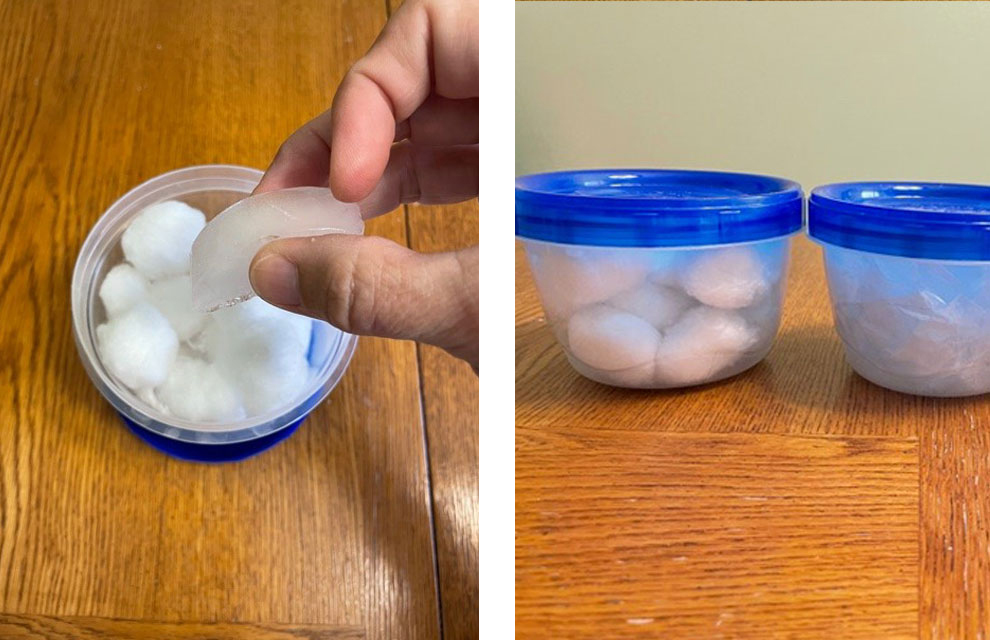
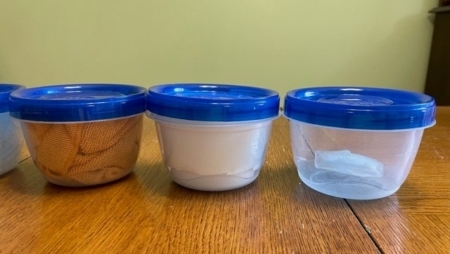
- Arrange one insulating material inside the plastic container and repeat with a different insulating material until all containers are ready.
- Leave one container empty. This is your control container.
- The materials can be arranged however you’d like. Do you want to add bubble wrap to the top as well? Only on the sides? What about the bottom?
- Make your hypothesis. Which container will melt the ice the fastest? Which container will preserve the ice the longest?
- Place an ice cube, about the same size, in each of the containers.
- Close the containers and place them in the same area, but away from sunlight or direct heat.
- Set a timer for ten minutes.
- After ten minutes look into each container and record your findings. Which ice cube is noticeably smaller? Which looks like it hasn’t changed at all?
- Continue to look at your ice cubes at regular intervals. You can decide if this is every ten, fifteen or twenty minutes.
- How long did it take to melt every ice cube in the experiment?
- Which container lasted the longest?
- Do you think you can slow the process of melting by making combinations of the materials listed? What if you mixed cotton balls with bubble wrap?
- What other materials do you think could work as insulators? Hay? Wood shavings or sawdust? Cardboard?
- Were there any other factors that may have impacted the speed the ice melted? Maybe the heat transferring from your hands to the container?

Congratulations, you're a PowerZone rock star! Ready to explore more games and activities? Let's go!
Explore More Games and Activities