Instructions
Ready to get started with this activity? To keep track of your progress, check off the instructions for each step below as they are completed. Make sure to check the box of the last step when you’re done to receive congratulations for your completed activity!
Consider this:
The sun gives us heat, electricity, light, and it can contribute to art. Many cultures, throughout history have used stained glass and sun catchers to enhance buildings and windows. It is believed that sun catchers were first created by Indigenous people in southwest portions of America. Their sun catchers were small decorative stained glass pieces that they hung near light sources. Now it’s your turn to make some stained glass, or a sun catcher, to enhance your window at home.
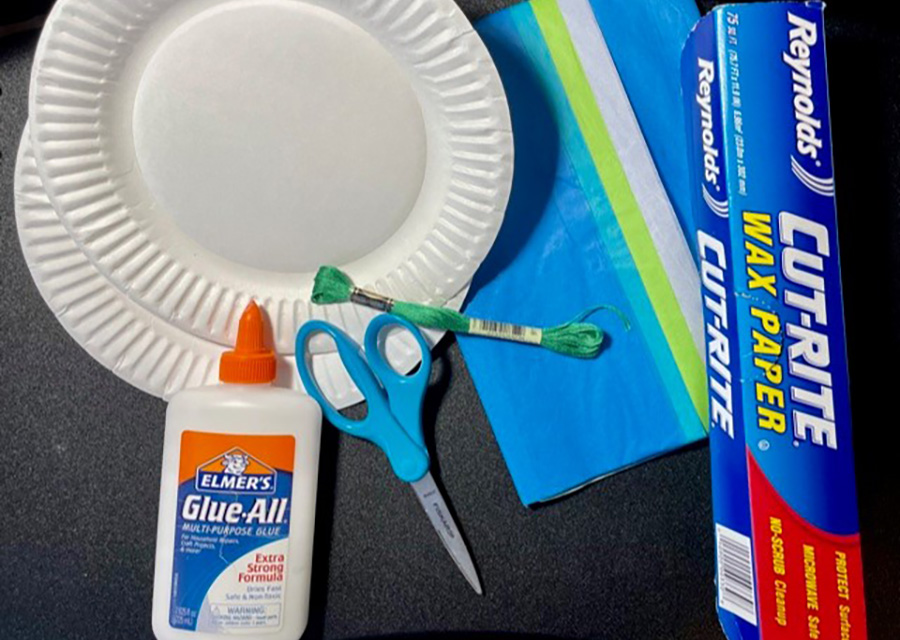
- (2) Round paper plates
- Roll of wax paper
- Glue
- Blue, green and white tissue paper
- Scissors
- Something heavy that can be used as a weight (such as a book or a box)
- Pencil
- String
- Roll out and cut a piece of wax paper 20 inches in length.
- Fold the wax paper in half to create a crease, then open the paper back up.
- Tear blue, green and white tissue paper into small pieces.

- Fold one paper plate in half and make a small hole in the center. (Hint: This will help when cutting larger hole!)
- Repeat with the second paper plate.
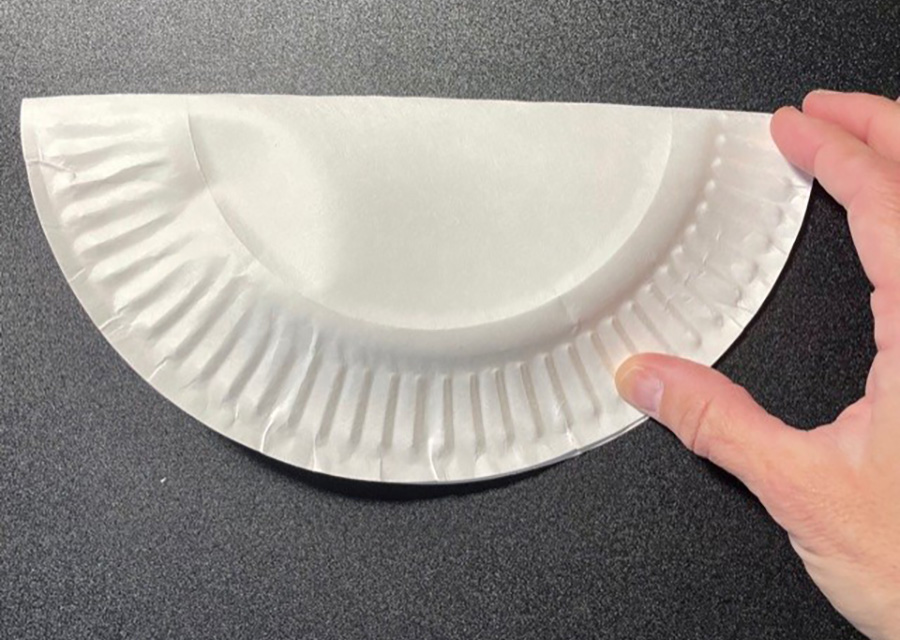
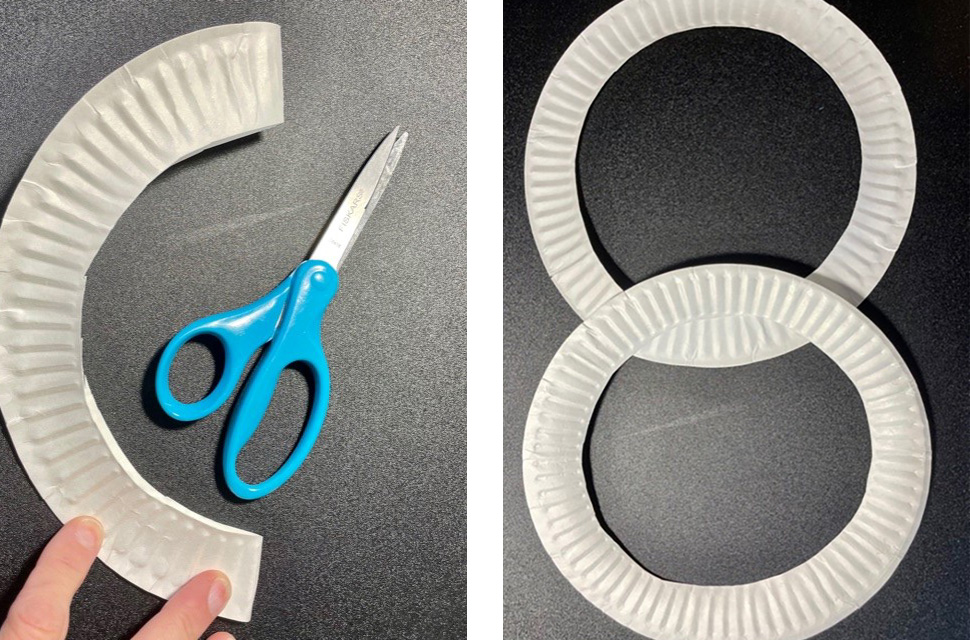
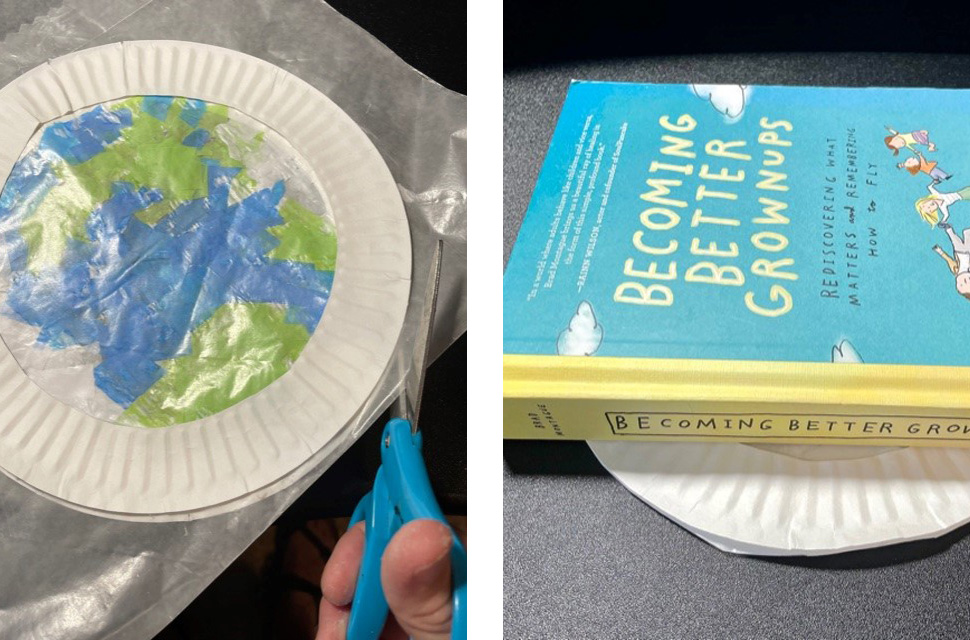
- Cut out the center of the first paper plate, leaving a 1 to 1 ½ inch border all around.
- Repeat using the second plate.
- Using the pencil, flatten the edges of the paper plates.
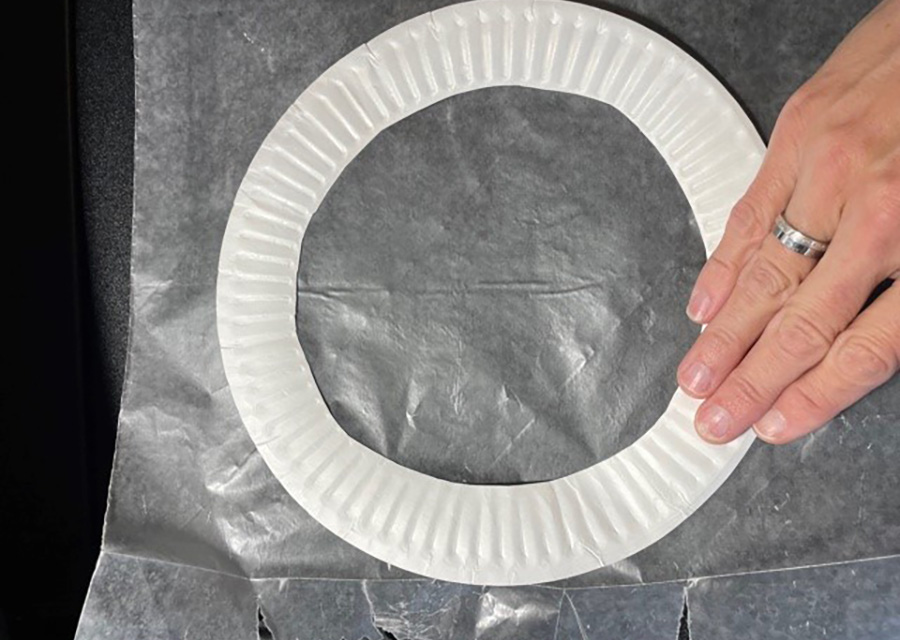
- Lay one paper plate circle on the table.
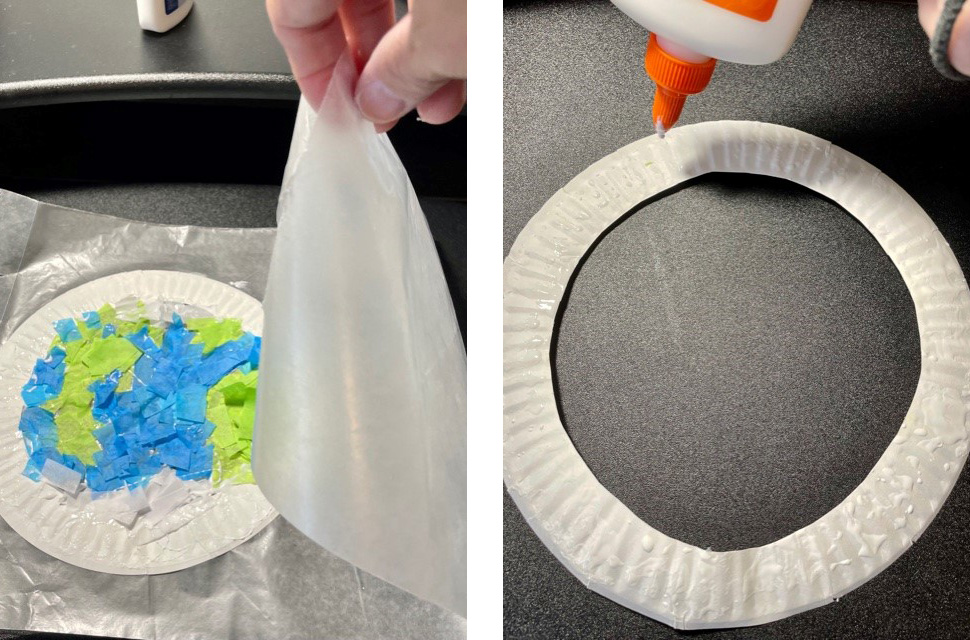
- Place one side of the wax paper over the top of the plate.
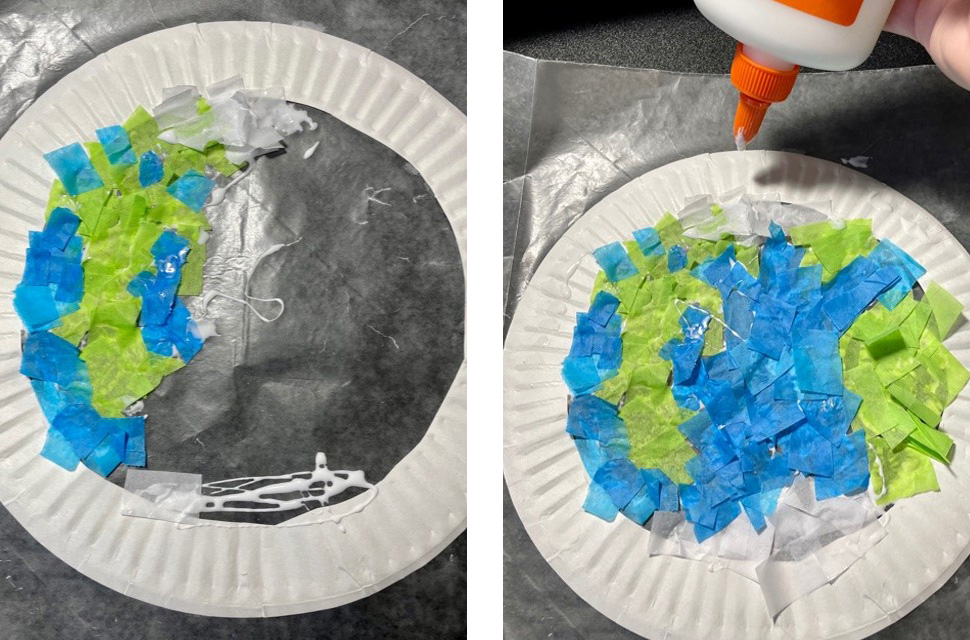
- Think of the large circle within the paper plate as the boundaries of your earth.
- Using green tissue paper to represent land, blue tissue paper to represent water and white tissue paper to represent polar ice caps, apply glue to one area at a time on the wax paper and place the pieces of tissue paper down on the glue. (Hint: You can reference images of the Earth from the internet or use your imagination!)
- Continue applying glue and adding tissue paper until you have created the Earth as you see it.
- Once all the tissue paper is in place, lay the other half of the wax paper over the top to seal your art within the pieces of wax paper.
- Apply glue to one of the paper plate circles and place on top of the wax paper.
- Press firmly so the glue holds.
- Once you’ve secured your Earth art to one of the paper plate frames, carefully flip your Earth over.
- Apply glue to the second paper plate circle and press in place.
- For a firm connection, consider using a book or another heavy, flat object to hold the plates in place while the glue dries.
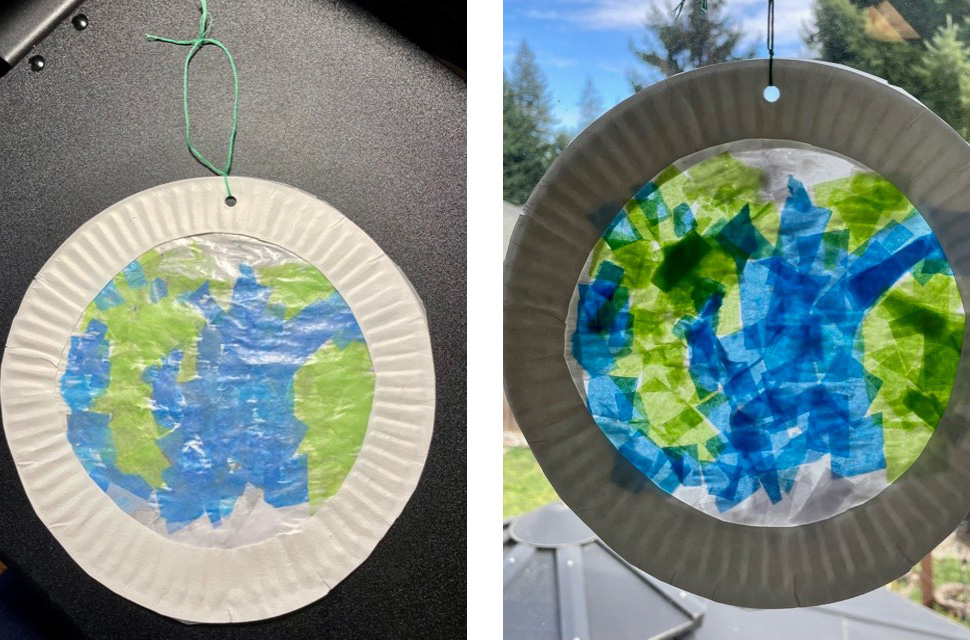
- Once the glue has dried (at least 30 minutes), punch a hole at the top and hang with string in a window.
- Enjoy the view!
- Could you use other colors to more accurately represent the Earth?
- The Earth is not flat, but it is not perfectly round. It bulges around the equator.
- The Earth is the third planet from the Sun.
- The Earth is the only planet to not be named after a Greek or Roman deity.

Congratulations, you're a PowerZone rock star! Ready to explore more games and activities? Let's go!
Explore More Games and Activities